Elasticseatch简单实践
Elasticsearch是一个开源的分布式搜索和分析引擎,用于存储、搜索和分析大量数据。它最初由Elasticsearch BV(现在称为Elastic NV)开发,是Elastic Stack(以前称为ELK Stack)的核心组件之一。Elastic Stack是一个用于日志和数据分析的开源解决方案,包括Elasticsearch、Logstash和Kibana。
Elasticsearch的主要特点包括:
- 分布式性能:Elasticsearch可以轻松地扩展到多个节点,以处理大规模的数据和查询。它使用分片和复制来确保数据的高可用性和性能。
- 实时搜索:Elasticsearch能够在文档被索引后几乎立即提供实时搜索结果,使其非常适用于各种应用,包括日志分析、搜索引擎、监控和仪表板等。
- 多数据类型支持:Elasticsearch支持多种数据类型,包括文本、数值、日期、地理位置等。这使得它非常灵活,可以应用于各种不同类型的数据分析任务。
- 强大的查询功能:Elasticsearch提供了丰富的查询语言和功能,包括全文搜索、模糊搜索、范围查询、聚合分析等,使用户可以针对不同的数据进行复杂的查询和分析。
- 可扩展性和插件生态系统:Elasticsearch具有丰富的插件生态系统,可以扩展其功能,包括安全性、监控、报告等方面。
- 开源和免费:Elasticsearch是开源软件,可免费使用,并且有一个活跃的社区支持和维护。
Elasticsearch通常与其他Elastic Stack组件一起使用,例如Logstash用于数据收集和处理,Kibana用于数据可视化和仪表板创建。这些组件共同构建了强大的数据分析和搜索解决方案,广泛用于各种应用领域,包括企业搜索、日志分析、安全信息和事件管理(SIEM)、电子商务搜索等。
安装ElasticSearch
从Docker镜像仓库(通常是Docker Hub或其他镜像仓库)下载(或拉取)elasticsearch镜像到本地计算机
1
docker pull elasticsearch:7.16.2创建启动一个名为 “es” 的后台运行的Elasticsearch容器
1
docker run -d --name es -p 9200:9200 -p 9300:9300 -e ES_JAVA_OPTS="-Xms256m -Xmx256m" -e "discovery.type=single-node" -v es:/usr/share/elasticsearch/data elasticsearch:7.16.2docker run: 这是Docker命令行工具中用于创建和运行容器的命令。-d: 这是一个选项,表示容器将以后台(守护进程)模式运行,即不会阻止终端。--name es: 这是一个选项,用于指定容器的名称为 “es”。这将使您能够使用容器名称引用容器,而不必依赖于容器的ID。-p 9200:9200 -p 9300:9300: 这是用于端口映射的选项。它将容器内部的9200端口映射到主机的9200端口,同时将容器内部的9300端口映射到主机的9300端口。这些端口是Elasticsearch用于与外部通信的端口,其中9200用于HTTP请求,9300用于内部节点通信。-e ES_JAVA_OPTS="-Xms256m -Xmx256m": 这是一个选项,用于设置Elasticsearch的Java虚拟机选项。在这里,它设置了初始堆大小(Xms)和最大堆大小(Xmx)都为256MB,以控制Elasticsearch使用的内存。-e "discovery.type=single-node": 这是另一个选项,用于设置Elasticsearch的发现类型为 “single-node”。这表示Elasticsearch将作为单节点运行,适用于开发和测试环境。-v es:/usr/share/elasticsearch/data: 这是一个选项,用于将主机的一个卷(volume)挂载到容器内部的目录。这里将主机上的名为 “es” 的卷挂载到容器内的 “/usr/share/elasticsearch/data” 目录,用于持久化存储Elasticsearch的数据。elasticsearch:7.16.2: 这是要运行的Docker镜像的名称和标签。具体来说,这是Elasticsearch 7.16.2镜像的标识,Docker将根据此标识从Docker Hub拉取镜像并创建容器。
进入名为 “es” 的容器,并以交互方式(
-it标志)启动一个bash shell。1
docker exec -it es /bin/bash在容器内安装ik中文分词器
1
bin/elasticsearch-plugin install https://github.com/medcl/elasticsearch-analysis-ik/releases/download/v7.16.2/elasticsearch-analysis-ik-7.16.2.zip重启es容器
1
docker restart es验证分词插件是否安装成功
1
2
3
4
5
6
7
8
9
10
11
12
13
14
15
// 增加一个叫test001的索引
curl -X PUT http://localhost:9200/test001
// 成功返回 {"acknowledged":true,"shards_acknowledged":true,"index":"test001"}
// ik_smart分词
curl -X POST \
'http://127.0.0.1:9200/test001/_analyze?pretty=true' \
-H 'Content-Type: application/json' \
-d '{"text":"我们是软件工程师","tokenizer":"ik_smart"}'
// ik_max_word分词
curl -X POST \
'http://127.0.0.1:9200/test001/_analyze?pretty=true' \
-H 'Content-Type: application/json' \
-d '{"text":"我们是软件工程师","tokenizer":"ik_max_word"}'我们可以在本机的 host 文件中,添加映射,将
127.0.0.1 host.docker.internal;1
host.docker.internal 127.0.0.1创建启动一个名为 “kibana” 的后台运行的kibana容器
1
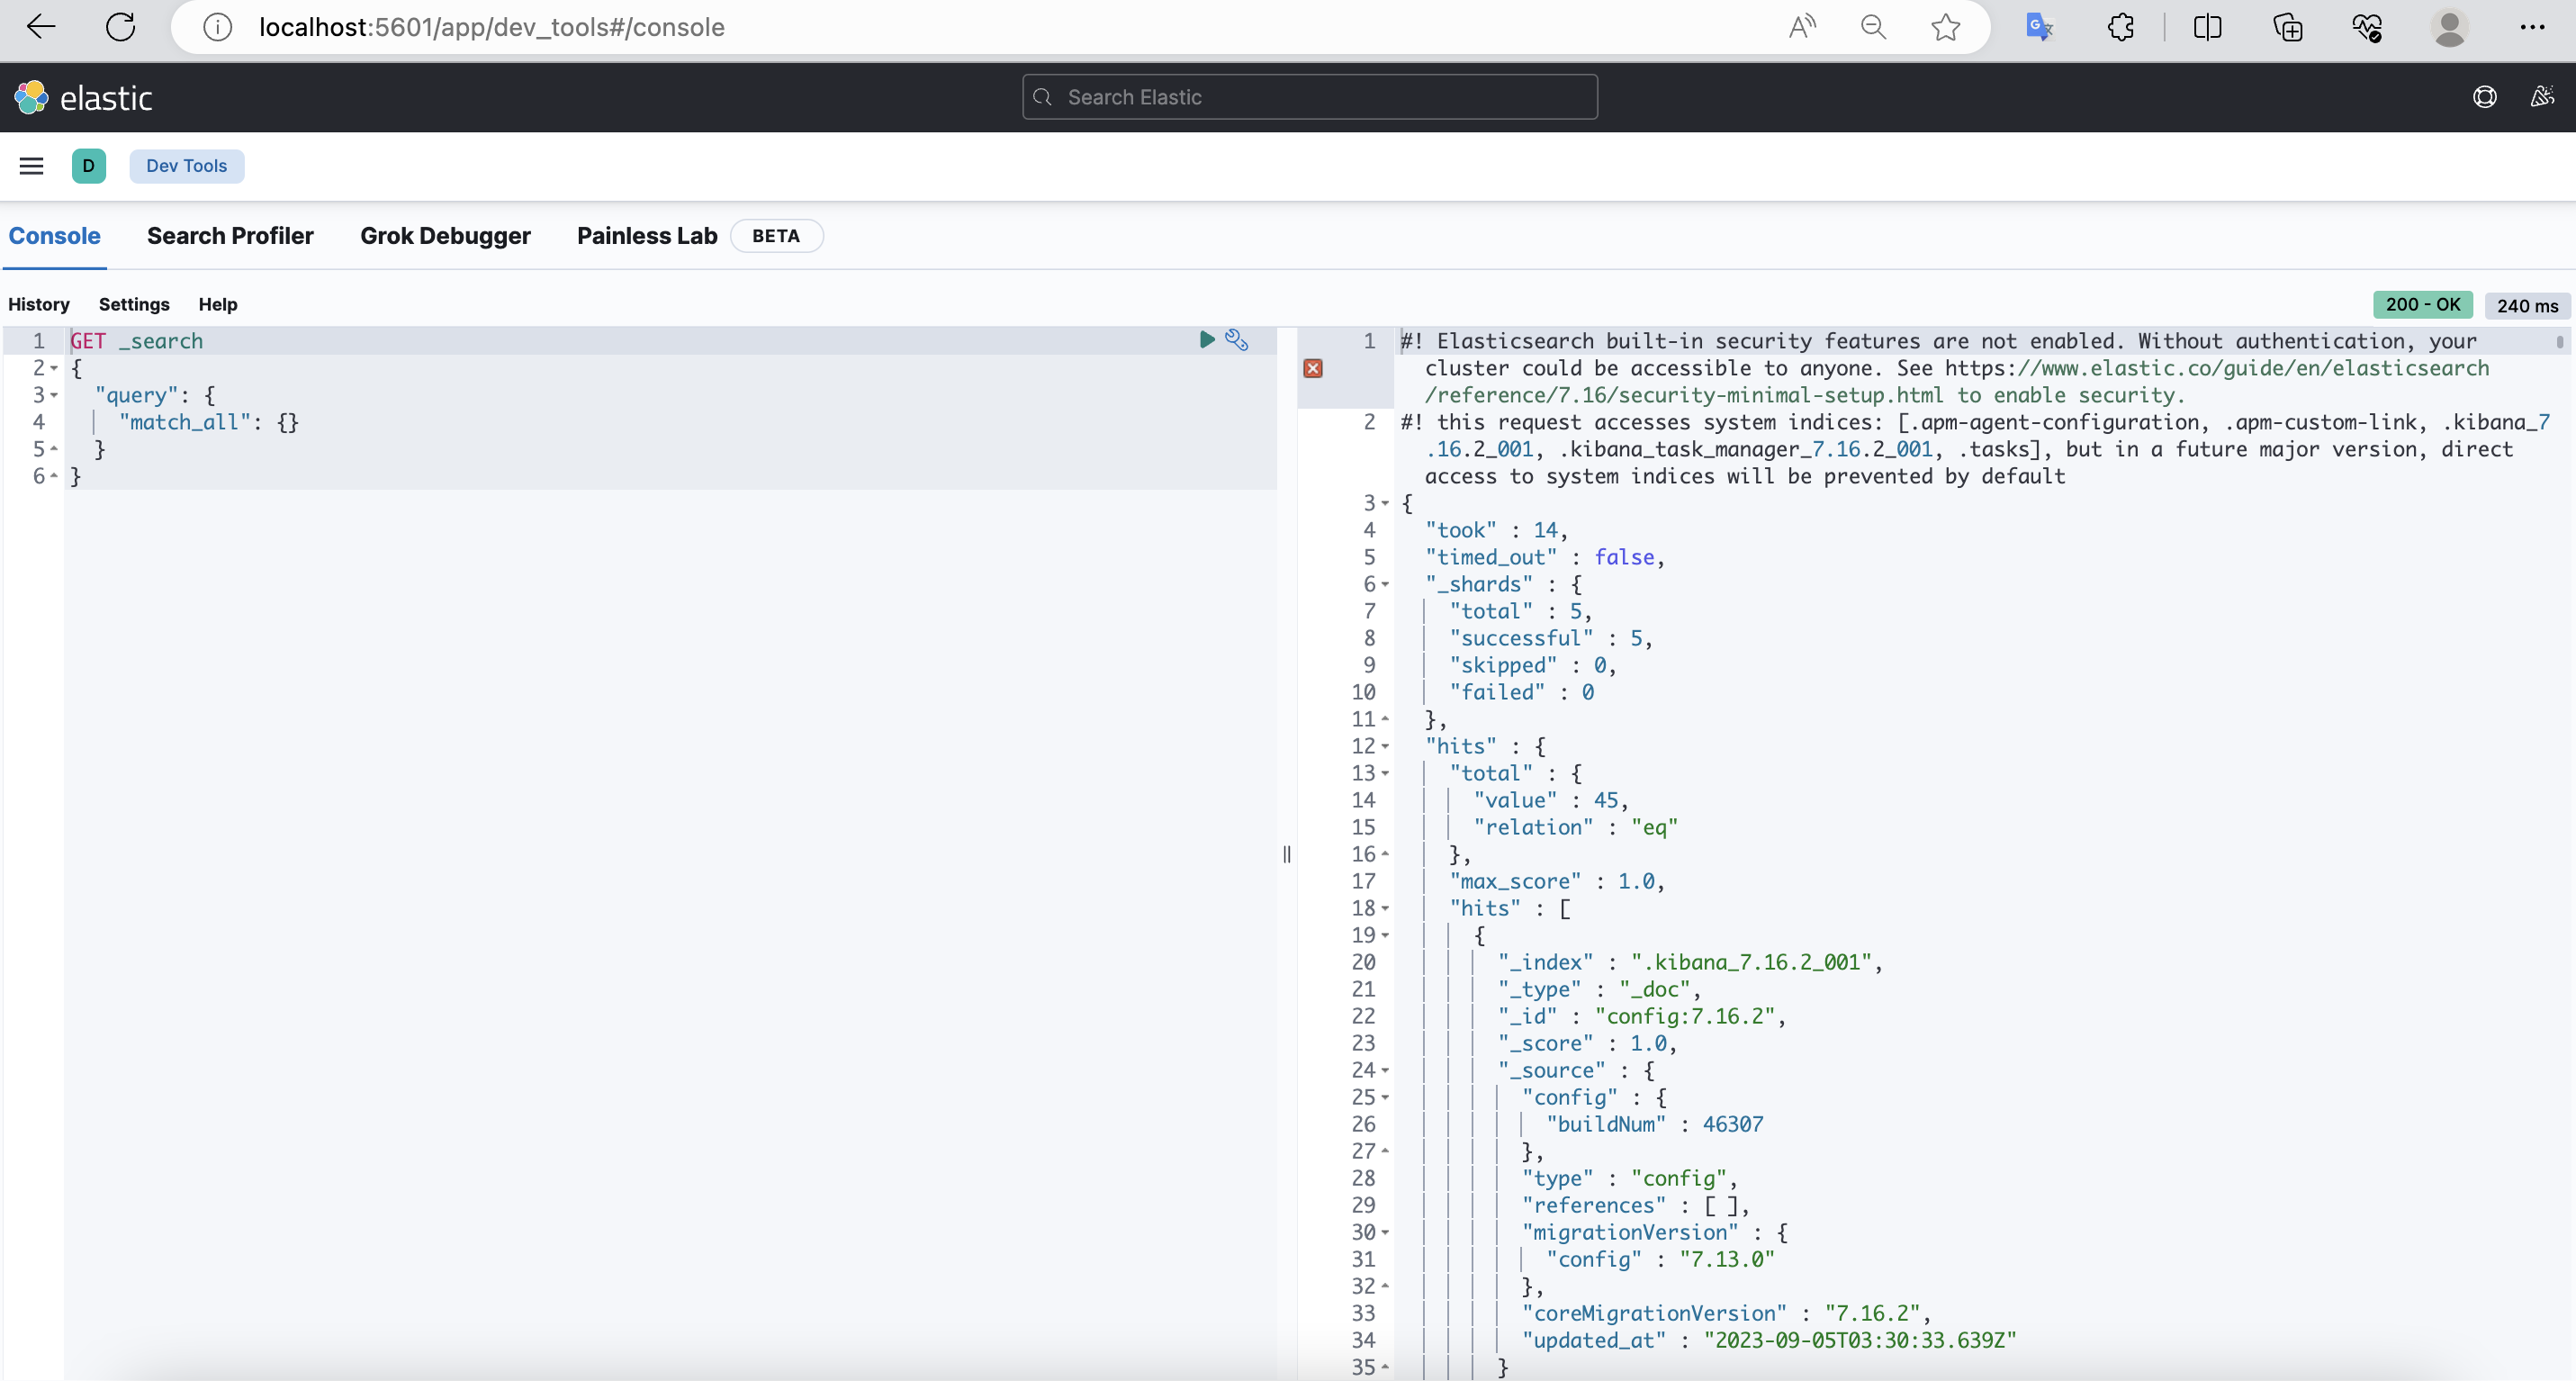
docker run --name kibana -e ELASTICSEARCH_HOSTS=http://host.docker.internal:9200 -p 5601:5601 -d kibana:7.16.2访问http://localhost:5601判断kibana是否启动成功


集成Springboot
添加Elasticsearch客户端库依赖项:这里我是跟着springboot的版本 2.3.9.RELEASE
1
2
3
4<dependency>
<groupId>org.springframework.boot</groupId>
<artifactId>spring-boot-starter-data-elasticsearch</artifactId>
</dependency>在
application.properties或application.yml配置文件中,配置Elasticsearch连接信息,包括主机名、端口号等。1
2
3
4
5
6spring:
data:
elasticsearch:
client:
reactive:
endpoints: http://localhost:9200创建实体类: 创建一个实体类,表示要存储在Elasticsearch中的文档。该实体类需要使用
@Document注解来指定与Elasticsearch索引的映射。例如:1
2
3
4
5
6
7
8
9
10
11
12
13
14
15
16
17@Data
@Document(indexName = "test_index")
public class TestIndex {
@Id
private String id;
private String title;
private String content;
@Override
public String toString() {
return "TestIndex{" +
"id='" + id + '\'' +
", title='" + title + '\'' +
", content='" + content + '\'' +
'}';
}
}创建Elasticsearch存储库(Repository): 创建一个Elasticsearch存储库接口,它将继承自Spring Data Elasticsearch的
ElasticsearchRepository。这个存储库将用于定义与Elasticsearch索引的交互。1
2
3
4@Repository
public interface TestIndexElasticsearchRepository extends ElasticsearchRepository<TestIndex, String> {
List<TestIndex> findAllByContent(String content);
}在test下创建测试类
1
2
3
4
5
6
7
8
9
10
11
12
13
14
15
16
17
18
19
20
21
22
23
24
25
26
27
28
29
30
31
32
33
34
35
36
37
38
39@SpringBootTest
@RunWith(SpringRunner.class)
public class BaseTest {
@Autowired
private TestIndexElasticsearchRepository testIndexElasticsearchRepository;
@Test
public void save() {
TestIndex testIndex = new TestIndex();
testIndex.setId("1");
testIndex.setTitle("你好");
testIndex.setContent("我是java开发工程师");
TestIndex save = testIndexElasticsearchRepository.save(testIndex);
System.out.println(save);
}
@Test
public void search() {
List<TestIndex> testIndices = testIndexElasticsearchRepository.findAllByContent("java");
for (TestIndex index : testIndices) {
System.out.println(index);
}
}
@Test
public void find() {
Iterable<TestIndex> testIndices = testIndexElasticsearchRepository.findAll();
for (TestIndex index : testIndices) {
System.out.println(index);
}
TestIndex testIndex = testIndexElasticsearchRepository.findById("1").get();
System.out.println(testIndex);
}
@Test
public void delete() {
testIndexElasticsearchRepository.deleteById("1");
}
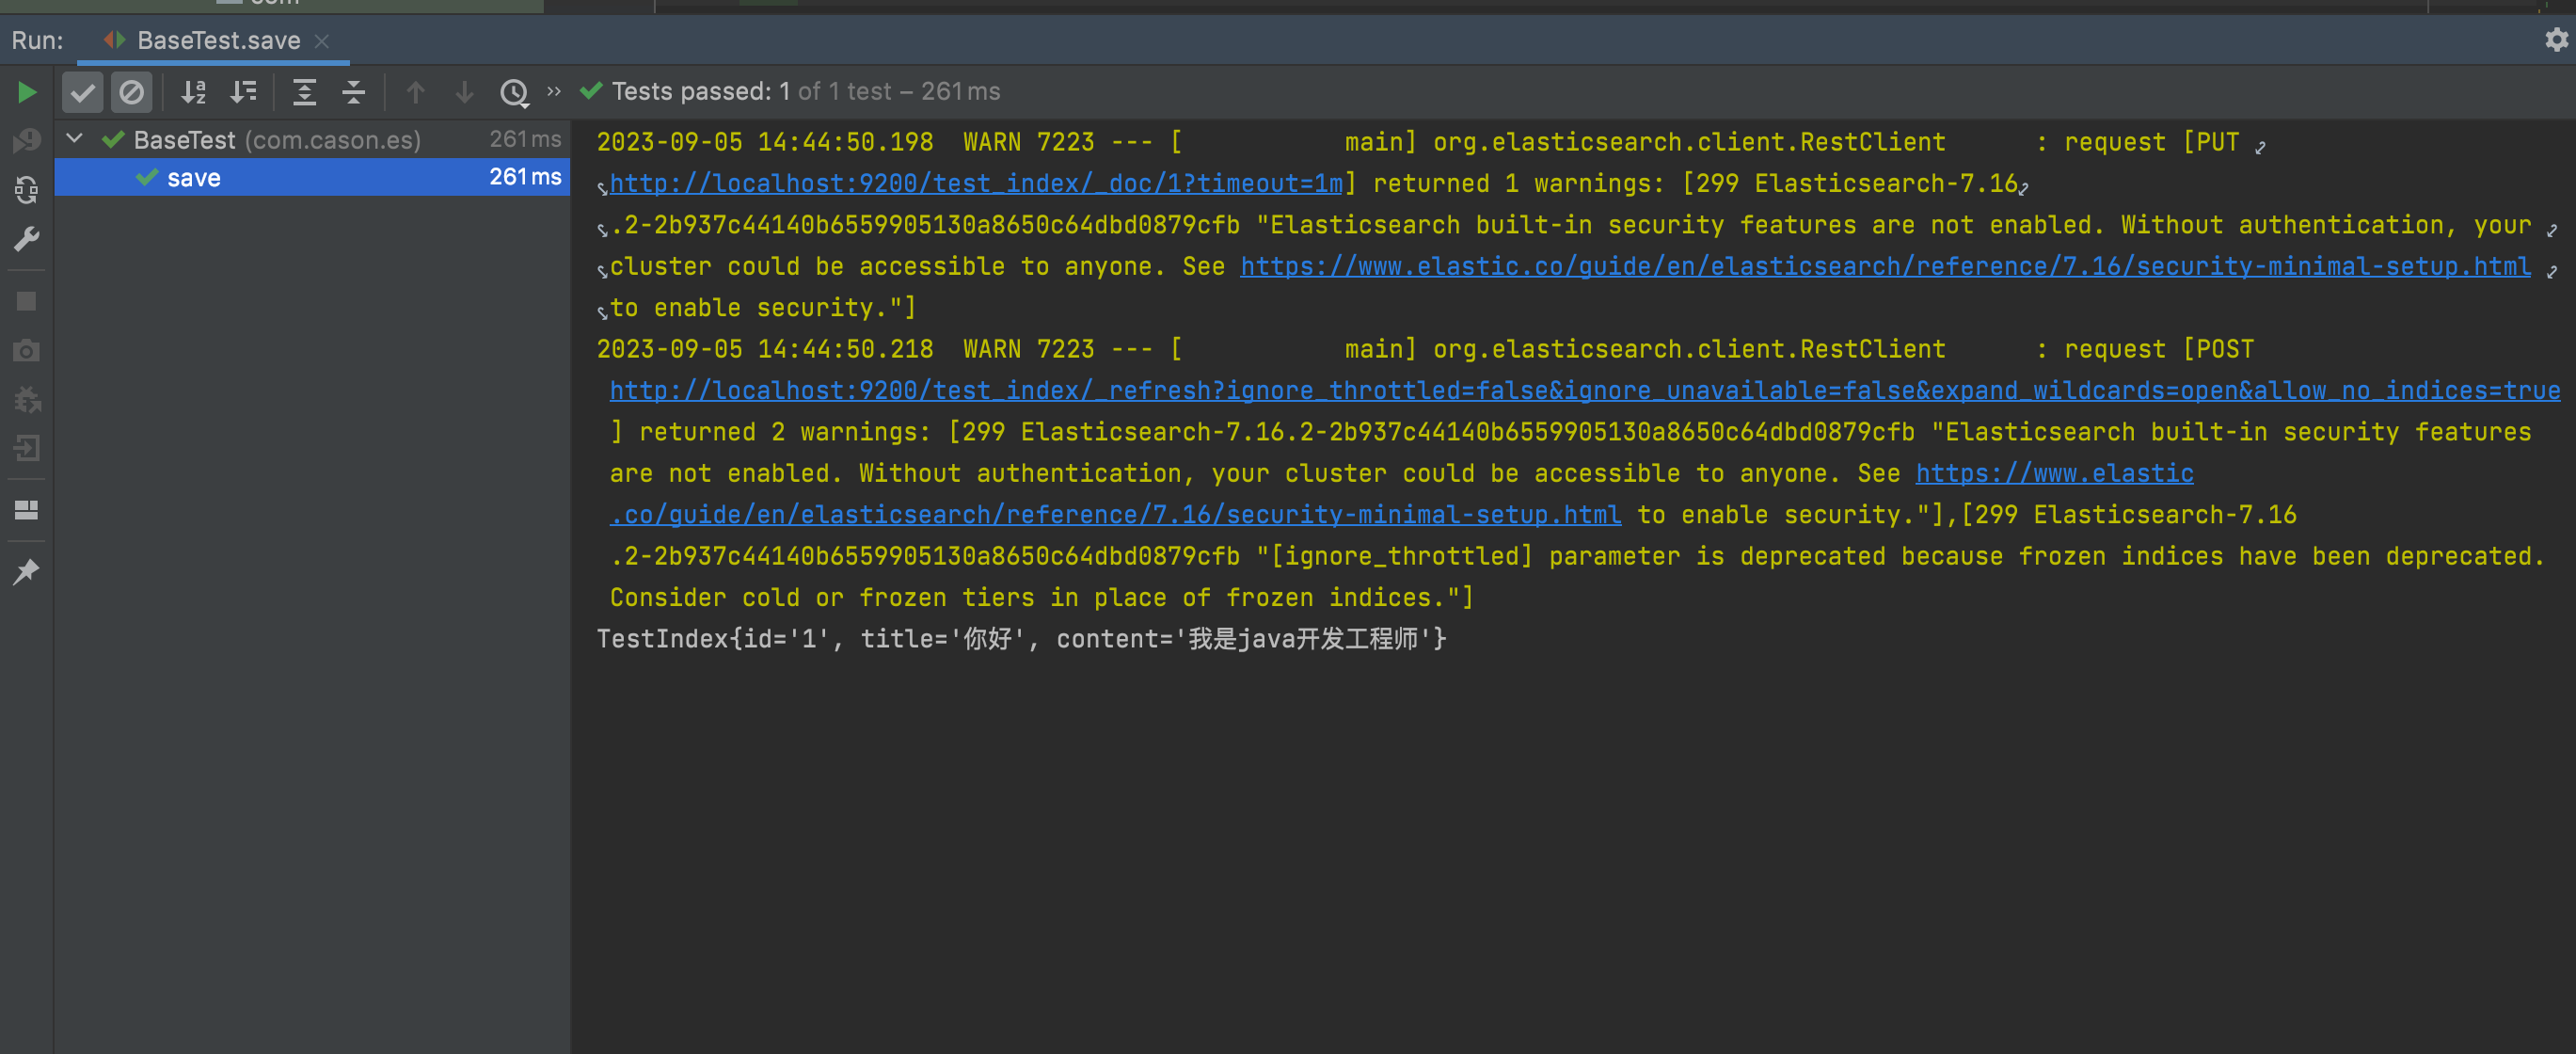
}检查执行结果
